
How to Prevent Breastfeeding Shoulder Pain: A Step by Step Guide
- Published October 11, 2026
- Updated October 11, 2026
- 8 min read
Breastfeeding shoulder pain is caused by hunching forward during feeds and holding a static arm position for 20-45 minutes at a time, multiple times per day.
Use a chair with armrests and a footstool, raise the nursing pillow to nipple height, rest your whole forearm on it, rotate feeding positions and do a 5-minute shoulder reset between feeds.
TL;DR: The Quick Answer
- Breastfeeding shoulder pain is caused by hunching forward during feeds and holding a static arm position for 20-45 minutes at a time, multiple times per day.
- This guide covers 6 steps to prevent shoulder and neck pain before it starts, from positioning setup to daily stretching.
- You need one nursing pillow (such as a Boppy or My Brest Friend) and a supportive chair before starting.
- Most mothers who correct latch position and arm support eliminate shoulder pain within 3-5 days.
- What You Need Before You Start
- Why Breastfeeding Causes Shoulder Pain
- Step 1: Set Up Your Feeding Chair
- Step 2: Position the Nursing Pillow
- Step 3: Check Your Latch Without Moving
- Step 4: Alternate Feeding Positions Each
- Step 5: Do a 5-Minute Shoulder Reset Between
- Step 6: Address Nighttime Feeding Posture
- Common Problems and How to Fix Them
- FAQ
- Summary
Prevent Breastfeeding Shoulder Pain at a Glance
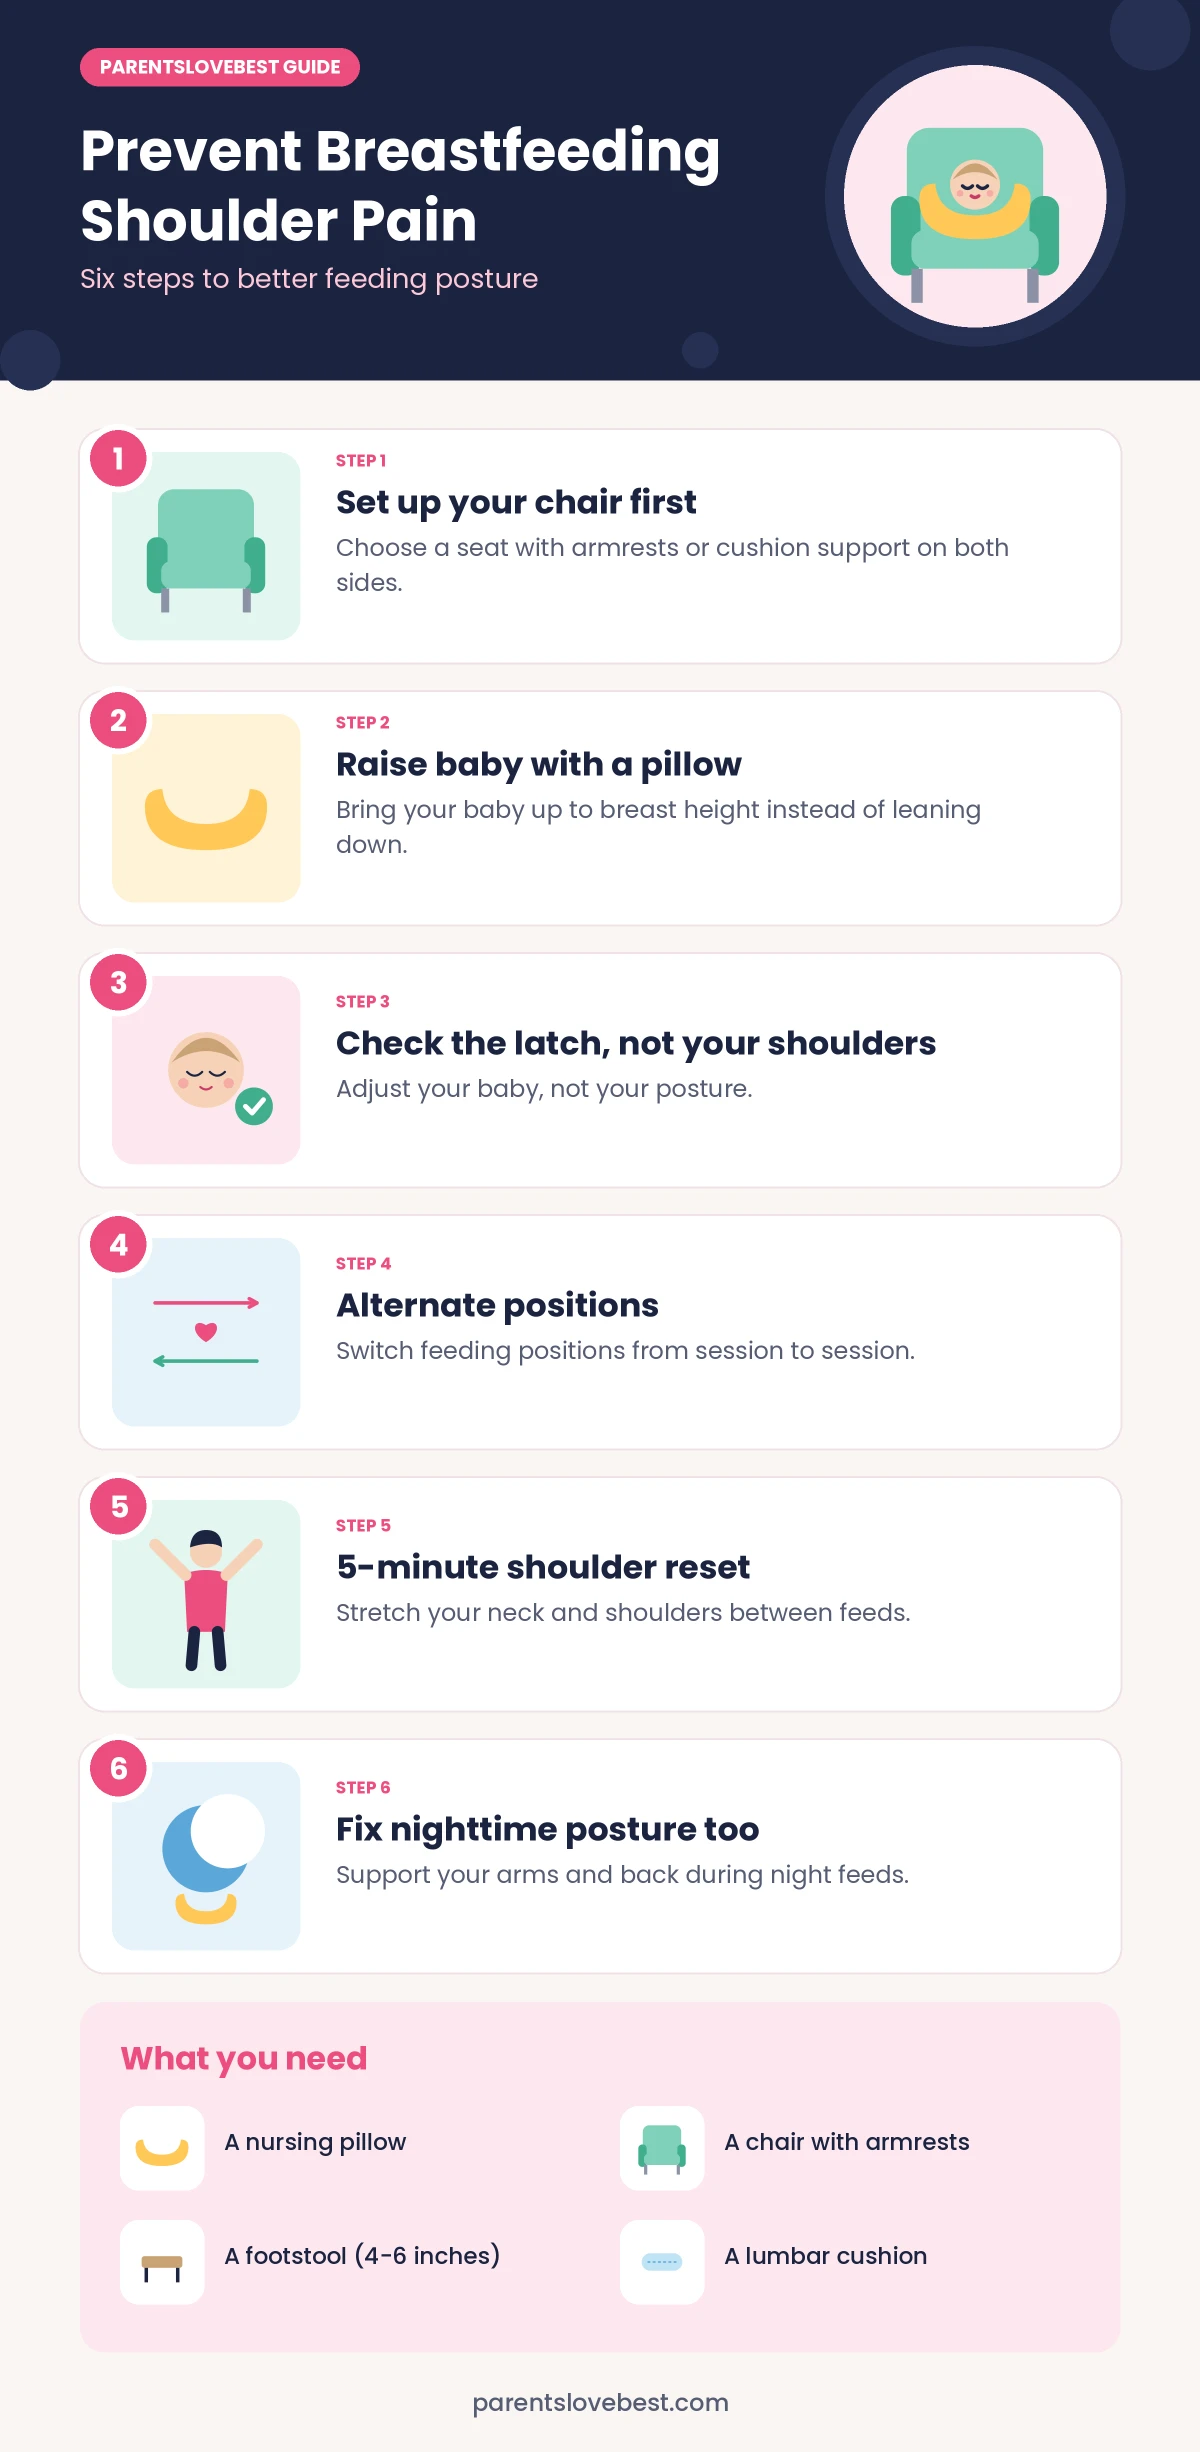
What You Need Before You Start
A nursing pillow (Boppy, My Brest Friend, or a firm bed pillow) to bring the baby up to breast height
A chair with armrests or a sofa with cushion support on both sides
A footstool or stack of books to raise your feet 4-6 inches off the floor
A small lumbar cushion or rolled towel for lower back support
Why Breastfeeding Causes Shoulder Pain in the First Place
Breastfeeding shoulder pain is almost always a posture problem, not a muscle weakness problem. When a baby latches at the wrong height, the mother leans forward to reach them. That forward head position puts 3-5x more load on the cervical spine per inch of forward tilt (Hansraj, 2014). Do that for 8-12 feeds per day, and the upper trapezius and shoulder muscles fatigue fast.
Good to know
The fix is bringing the baby up to the breast - not bending the breast down to the baby. Every step below follows that single principle.
Step 1: Set Up Your Feeding Chair Before the First Feed
Choose a chair with armrests that sit at or just below elbow height when you are seated with your back against the backrest. Armrests that are too low force your shoulder into a shrug; too high locks the shoulder in an elevated position. Both cause pain within days.
Place a footstool under your feet so your knees are at or slightly above hip height. This tilts the pelvis forward slightly, which keeps the lower back in its natural curve and stops you from rounding forward at the shoulders.
Add a small lumbar cushion in the curve of your lower back before you sit down. If the lower back collapses, the thoracic spine rounds, which pulls the shoulders forward even when you think you are sitting straight.
Step 2: Position the Nursing Pillow at the Right Height
Place the nursing pillow across your lap so the top surface sits at nipple height – not stomach height. Most new mothers place the pillow too low, which causes them to tip their shoulders forward to guide the latch.
If your pillow sits too low even when fully inflated, place a firm bed pillow underneath it to build height. The baby's mouth should meet the nipple without you moving your shoulder or arm at all. If you are reaching forward to guide the latch, the surface is too low.
For mothers who had a C-section, a C-section pillow (also called a lap shield pillow) protects the incision and keeps the baby off the abdomen without requiring you to hold the arm at an awkward angle.
Step 3: Check Your Latch Without Moving Your Shoulders
A correct latch does not require shoulder movement on your part. To check: once the baby is positioned on the pillow, drop both hands to your lap. If the baby stays latched and feeding continues – your setup is correct. If the latch breaks or the baby slides, the surface is still too low or the baby needs repositioning on the pillow, not a repositioning of your shoulder.
Good to know
During the feed, your holding arm should rest on the pillow, not hover above it. A hovering arm - where the elbow floats unsupported - is the single most common cause of feeding-related shoulder and upper arm pain. Rest the full weight of the arm on the pillow surface.
Step 4: Alternate Feeding Positions Each Session
Using only one feeding position (typically cradle hold) loads the same shoulder muscles at the same joint angle every feed. Rotating through three positions throughout the day distributes the load (MedlinePlus explains each hold).
| Position | How It Loads the Shoulder | Best Used When |
|---|---|---|
| Cradle hold | Arm rotated inward, elbow flexed | First weeks when establishing latch |
| Football hold | Arm extended laterally, shoulder abducted | After C-section; large breasts; fast letdown |
| Side-lying | No arm load at all | Night feeds; recovery from birth |
| Laid-back (biological nurturing) | Gravity supports baby’s weight | Oversupply; strong letdown; shoulder fatigue |
Good to know
Rotate through at least two positions per day. If one shoulder hurts more than the other, prioritize positions that rest that arm completely - football hold on the opposite side or side-lying.
Step 5: Do a 5-Minute Shoulder Reset Between Feeds
This is the step most mothers skip. Static positions during feeds shorten the pectorals and upper trapezius over hours. Doing a brief reset between feeds prevents that tightness from accumulating.
Do these three movements after every second feed:
Chest opener
Interlace hands behind your back, squeeze shoulder blades together, hold for 10 seconds. Repeat 3 times. This reverses the forward rounding that happens during feeding.
Neck side stretch
Drop your right ear toward your right shoulder, hold 20 seconds, switch sides. This releases the upper trapezius and levator scapulae - the two muscles most overloaded during feeding.
Shoulder rolls
Roll both shoulders backward 10 times slowly. This reactivates the lower trapezius, which gets switched off during prolonged forward postures.
Good to know
The full sequence takes under 5 minutes and can be done while the baby sleeps.
Step 6: Address Nighttime Feeding Posture Separately
Night feeds are where posture breaks down most because you are half-asleep. Sitting up in bed to feed – without back or arm support – loads the shoulders in the worst possible position: arms unsupported, back unsupported, head dropped forward.
Switch night feeds to side-lying position as soon as you and your baby are comfortable with it. Lie on your side with a pillow between your knees and a pillow supporting your head. Bring the baby to face you at breast height. Your shoulder rests on the mattress and takes zero load. Many mothers report this single change eliminates their nighttime shoulder pain within 48 hours.
If you prefer to sit up for night feeds, keep the nursing pillow next to the bed and put it in place before picking up the baby. Never start a night feed without first positioning the pillow.
Common Problems and How to Fix Them
| Problem | Likely Cause | Solution |
|---|---|---|
| Pain only in the right shoulder | Using cradle hold exclusively on one side | Add football hold on the left; rotate sides each feed |
| Pain starts after 10 minutes of feeding | Arm is hovering unsupported on the pillow | Rest the full forearm weight on the pillow surface |
| Pain worse at night | Sitting up in bed without arm or back support | Switch to side-lying for all night feeds |
| Nursing pillow keeps sliding off lap | Pillow is too small for your body frame | Try My Brest Friend (buckles around the waist) instead of a C-shape pillow |
| Shoulder pain plus wrist pain | Baby’s weight resting in the wrist, not the forearm | Shift support point from wrist to the full forearm |
| Pain persists after correcting position | Possible rotator cuff strain from weeks of incorrect loading | See a physiotherapist; a 2-3 session course typically resolves it |
Frequently Asked Questions About Breastfeeding Shoulder Pain
What causes shoulder pain during breastfeeding?
The main cause is holding the arm in a static, unsupported position for 20-45 minutes per feed, repeated 8-12 times per day. Forward head posture during feeds adds load to the cervical spine and upper trapezius. Most cases are posture and setup problems, not structural injuries.
How long does breastfeeding shoulder pain last?
If you correct the positioning and add daily shoulder stretches, pain typically reduces within 3-7 days. If the pain has been present for more than 2 weeks without improvement after correcting your setup, see a physiotherapist to rule out rotator cuff involvement.
Can I breastfeed with a shoulder injury?
Yes, but you need to find positions that take all load off the injured shoulder. Side-lying and laid-back (biological nurturing) positions both allow the shoulder to rest fully while feeding continues. A physiotherapist can advise on specific adaptations for your injury.
Does the football hold reduce shoulder pain?
The football hold reduces pain for many mothers because it changes which muscles carry the load and allows the forearm to rest on a flat surface more easily. It is particularly useful after a C-section and for mothers with larger breasts.
What is the difference between shoulder pain and upper back pain from breastfeeding?
Shoulder pain typically comes from the arm position during feeding – specifically an unsupported or hovering arm. Upper back pain between the shoulder blades comes from thoracic rounding and forward head posture. Both can happen at the same time, but the fixes are slightly different: arm support for shoulder pain, lumbar and back support plus the chest-opener stretch for upper back pain.
When should I see a doctor about breastfeeding shoulder pain?
See a doctor or physiotherapist if the pain is sharp (not achy), if you have numbness or tingling down the arm, if the pain does not improve after 2 weeks of correcting your setup, or if you cannot lift your arm above shoulder height.
Summary
- Set up a dedicated feeding chair with armrests at elbow height and a footstool before the first feed.
- Position the nursing pillow at nipple height – not stomach height – so the baby comes to the breast without any shoulder movement.
- Rest the full forearm on the pillow surface during every feed; a hovering arm is the most common cause of feeding-related shoulder pain.
- Rotate through at least two feeding positions per day to avoid loading the same muscles at the same angle every session.
- Do a 5-minute shoulder reset (chest opener, neck side stretch, shoulder rolls) between every second feed to reverse accumulated tightness.
- Switch night feeds to side-lying position to remove all shoulder load during overnight sessions.
Related Guides
- How to Get Kids to Clean Up: A Step by Step Guide for Parents
- What to Write in a Baby Shower Card: Messages, Tips and Examples
- When To Have a Baby Shower: Timing, Traditions and What Actually Works
- How Do You Know If Your Child Is Spoiled? Signs, Causes, and What to Do
- How to Keep Your Family Healthy Through the Colder Months (2026 Guide)